
Find Your Inner Calm: How to Fold a Beautiful Origami Lotus (Step-by-Step Guide)
- Chintan Varnangal

- May 2, 2025
- 3 min read
The lotus flower is a powerful symbol of purity, rebirth, and enlightenment across many cultures. Folding an origami lotus can be a meditative and rewarding experience, resulting in a beautiful paper bloom perfect for decoration, gifts, or simply enjoying your creation.
Ready to fold? Grab your paper and let's get started!
What You'll Need:
A single square sheet of paper. (Origami paper works best, but any square paper will do! Larger paper makes it easier for beginners.)
Let's Fold!
Follow these steps carefully. We've included images after each step showing what the paper should look like.
Step 1: Start with Your Square
Place your square paper colored-side down (if you're using paper with one colored side). Fold the paper in half diagonally by bringing one corner up to the opposite corner. Crease firmly and unfold. Repeat this fold along the other diagonal. Crease and unfold. You should now have two diagonal crease lines forming an 'X' across your square.

Step 2: Creasing your Horizontal and vertical lines
Next, fold your vertical and horizontal lines. Your paper will then display a vertical line, a horizontal line, and two diagonal lines.

Step 3: Bring Corners to the Center
Now, bring all four corners of the square to the exact center point where the two creases intersect. Crease each fold neatly. You will end up with a smaller square.

Step 4: Fold Corners to the Center Again
Take the new corners of this smaller square and fold them into the center point once more. Crease firmly. This will create an even smaller square.
Step 5: Flip It Over
Carefully flip the entire model over to the other side. You should see a smooth surface with no obvious folds on this side (the folds are tucked underneath).
Step 6: Bring Corners to the Center (One Last Time!)
On this side, bring the four corners to the center point. Crease well. You'll have a small square with four flaps meeting in the middle.
Step 7: Time for the Petals!
Now, the magic happens! Carefully flip the square and open the flaps

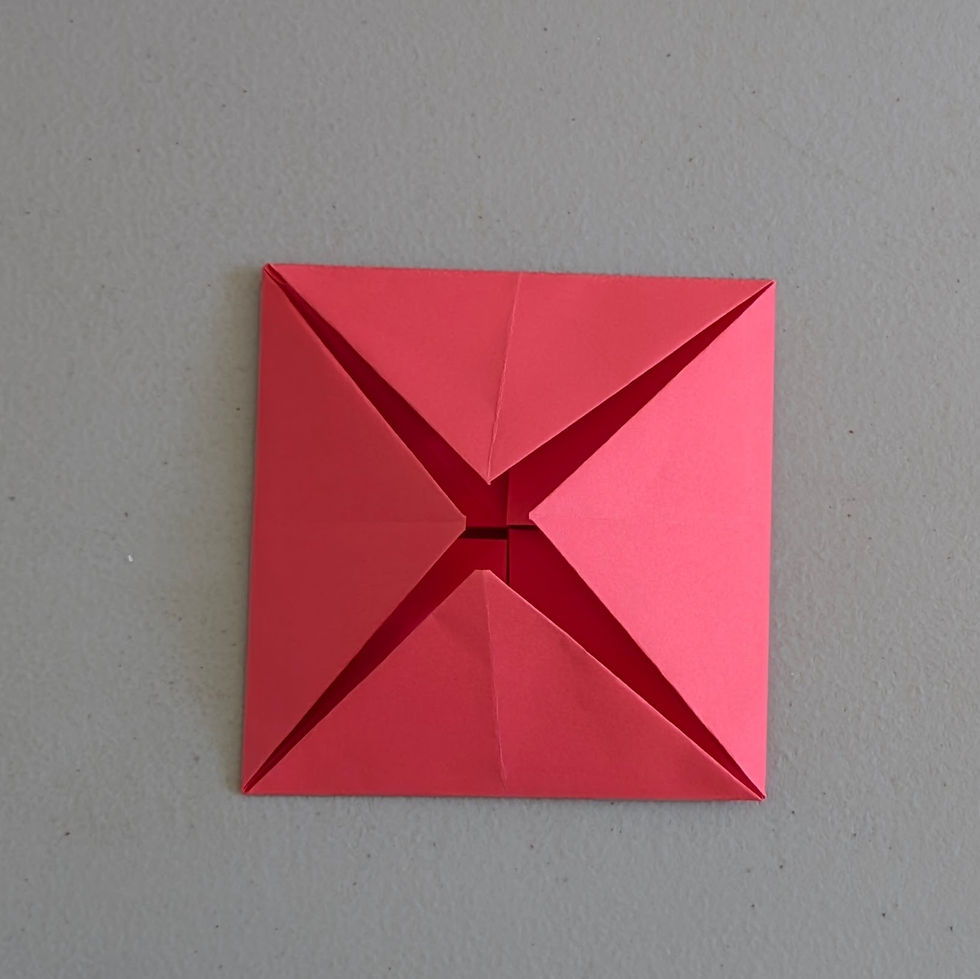
Step 8: Fold the corners outwards
Now, take each of the four corners of this new, smaller square. Fold each corner outwards, back towards where it came from. Don't unfold it completely! Make a new crease about halfway between the center and the outer point of the corner flap.
Do this for all four corners. You should see four triangular points sticking out from the flat square base, like in the picture."

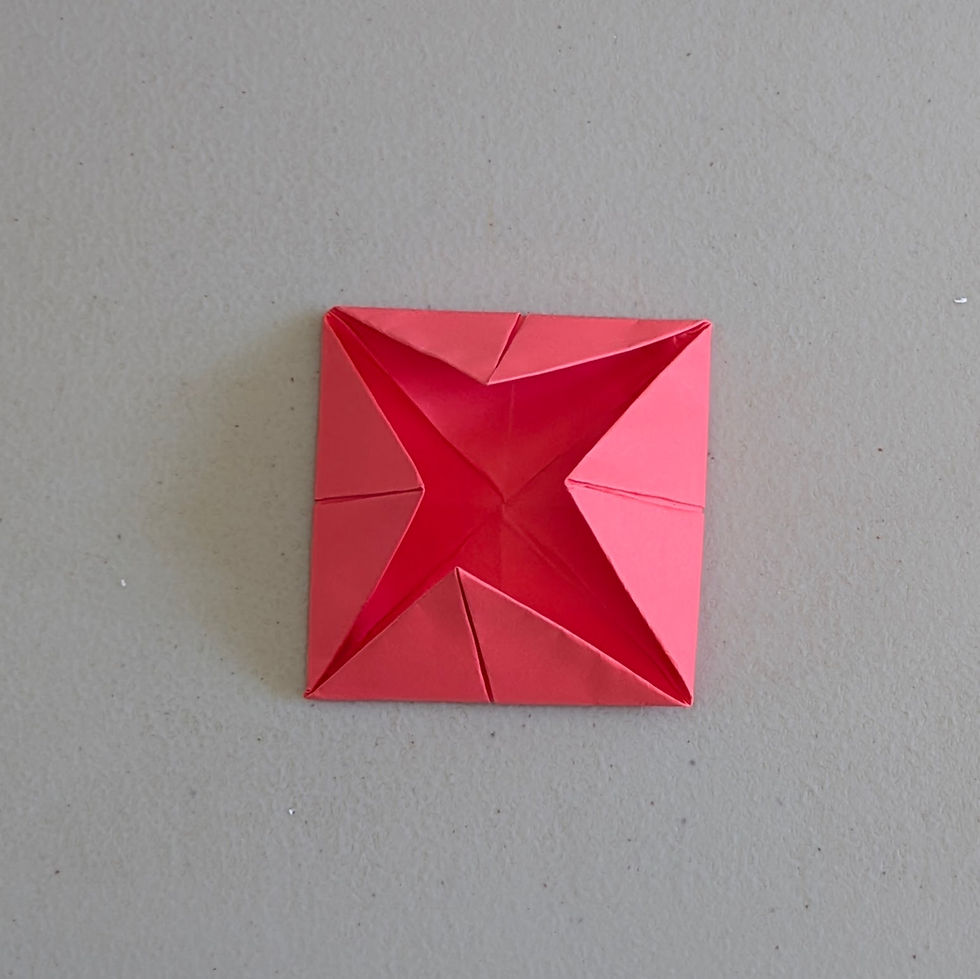
Step 9 - Making the Petals
Flip the model over and Gently pull the flap straight up towards you, revealing a petal shape. You are basically unfolding the previous step from underneath. Crease the base of this 'petal'. Repeat this process for the other three flaps on this side. You will now have four upright 'petals' around the center base.

Step 9: The Inner Petals
Reach underneath each of these smaller triangular flaps and pull them straight up, just like you did for the larger petals. These will form the smaller, inner petals of the lotus.

Step 10: Admire and Refine
Your origami lotus is complete! Gently adjust the petals to give your flower the desired shape and fullness.

Tips for Success:
Crease firmly: Sharp creases make the subsequent folds much easier and result in a neater finish.
Be precise: Align corners and edges carefully, especially when folding to the center.
Go slow: If a step is tricky, pause and look closely at the diagram or description.
Paper choice: Thinner origami paper is generally easier to fold than standard printer paper.
What to Do with Your Origami Lotus?
Use them as decorations for tables or shelves.
String them together to make a garland.
Glue them onto cards or gifts.
Make a bunch of them in different colors!
Folding the origami lotus is a wonderful way to practice patience and focus. Each fold brings you closer to the final beautiful form. Don't worry if your first attempt isn't perfect – that's part of the learning process!
Happy folding!


Comments