
Beyond the Classic House: 5 Unexpectedly Chic Popsicle Stick Crafts
- Chintan Varnangal

- Jul 2, 2025
- 4 min read
Remember that feeling of finishing a popsicle on a hot summer day, holding the slightly sticky, plain wooden stick and thinking... "What can I make with this?"
For many of us, the answer was a wobbly, glue-covered house. But that humble craft stick holds so much more potential! Popsicle sticks (or craft sticks, if you're buying them in bulk) are one of the most versatile, affordable, and forgiving materials in the crafting world.
Today, we're moving beyond the basics. We're going to show you how to transform simple wooden sticks into stylish decor, handy gadgets, and beautiful gifts that you'll be proud to display.
Why You'll Love Crafting with Popsicle Sticks:
Incredibly Affordable: You can get a pack of 100 for just a few dollars.
Easy to Work With: They are simple to cut, glue, and paint.
Nostalgic and Fun: It’s a craft that brings out the inner child in all of us!
So, grab your glue gun and let's get started!
Project 1: Geometric Honeycomb Shelves
This project looks like it came straight from a trendy home decor store, but you can make it in under an hour. It's perfect for displaying small air plants, crystals, or figurines.

What You'll Need:
Popsicle sticks (about 60-80 per shelf)
Hot glue gun or a strong wood glue
Paint or wood stain (optional)
The Steps:
Create Your Base: Lay six popsicle sticks in a hexagon shape on a flat surface.
Glue It Together: Add a small dot of glue at each of the six points where the sticks overlap. Let it dry completely. This is your foundation.
Build It Up: Begin layering more sticks on top of your base hexagon, one stick at a time, gluing at the corners as you go. Stagger the placement slightly for a stronger bond.
Keep Going: Continue adding layers until your shelf is the desired depth (usually 8-12 layers looks best).
Decorate! Once the glue is fully set, you can leave it natural, paint it a bold color, or give it a classic wood stain.
Project 2: The Modern Art Phone Stand
Tired of propping your phone against a coffee mug? This sleek, minimalist stand is functional, fun to make, and takes about 15 minutes.

What You'll Need:
10-12 popsicle sticks
Hot glue gun
Paint (optional)
The Steps:
Make the A-Frame: Take four sticks and glue them together side-by-side to create a flat rectangle. Make a second one. These are the front and back of your stand.
Create the Legs: Glue one stick to the bottom of the "back" rectangle, standing on its edge to form a triangle (like an easel).
Add the Ledge: Take two sticks and glue them together side-by-side. Now, glue this piece onto the front of your stand, near the bottom. This is the little shelf your phone will rest on.
Connect Them: Attach the back leg to the front panel at the top, creating a sturdy A-frame. Let it dry, and you're ready to go!
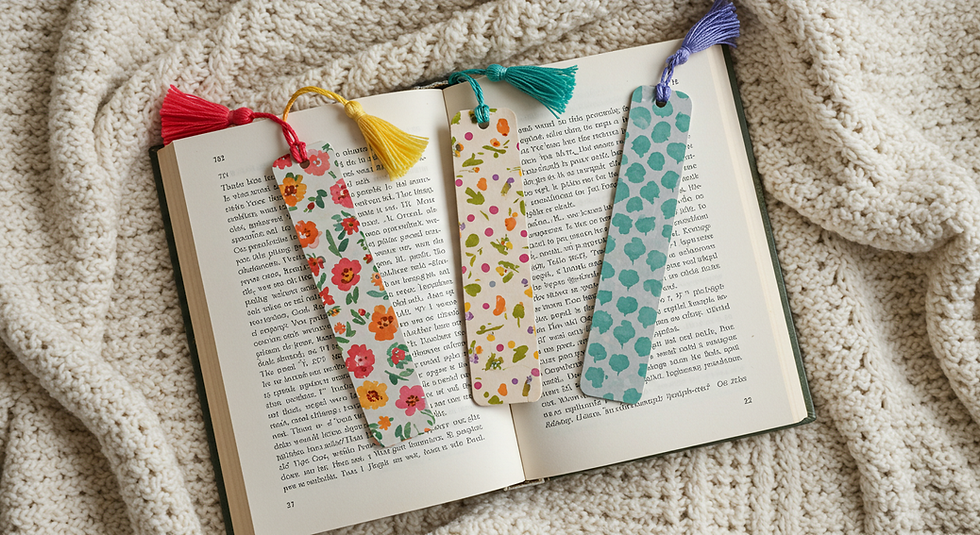
Project 3: Washi Tape Bookmarks
This is the ultimate quick craft, perfect for kids or for making a fast, thoughtful gift for a book-loving friend.
Bookmarks What You'll Need:
Jumbo popsicle sticks
Washi tape in various colors and patterns
Scissors
Mod Podge (optional, for sealing)
Embroidery floss for a tassel (optional)
The Steps:
Cover the Stick: Carefully wrap your popsicle stick with washi tape. You can create stripes, cover the whole thing in one pattern, or make a patchwork design.
Trim the Edges: Use scissors to trim any excess tape for a clean look.
Seal It: For extra durability, paint a thin layer of Mod Podge over the tape. It will dry clear and prevent the tape from peeling.
Add a Tassel: If you're feeling fancy, drill a small hole at the top and add a simple handmade tassel.
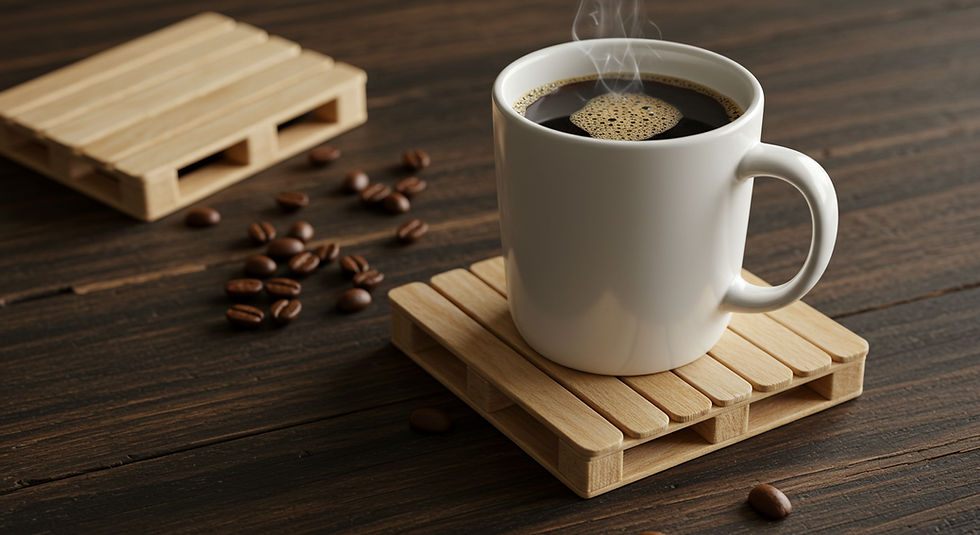
Project 4: Mini Pallet Coasters
Bring the rustic farmhouse vibe to your coffee table with these adorable and functional mini pallet coasters.
Pallet Coasters What You'll Need:
Popsicle sticks
Wood glue
Craft knife or strong scissors
The Steps:
Create the Base: Lay two popsicle sticks parallel to each other, about 3 inches apart. These are your support beams.
Add the Slats: Glue 5-6 popsicle sticks horizontally across the top of your two support beams, leaving a tiny gap between each one to get that "pallet" look.
Trim if Needed: You might need to trim the support beams so they don't stick out.
Let it Dry: Place a heavy book on top while the glue dries to ensure it stays flat. Make a set of four, and you're done!
Project 5: A Simple Bird Feeder
A classic for a reason! This is a wonderful weekend project that gives back to your feathered friends.

Bird Feeder What You'll Need:
Popsicle sticks (at least 100)
Waterproof wood glue
Twine or string for hanging
The Steps:
Make the Floor: Create a solid square base by gluing about 12 sticks side-by-side onto two perpendicular support sticks underneath.
Build the Walls: Using a log cabin-style crisscross pattern, start building up the walls around the edge of your floor. Place two sticks opposite each other, then two more on the other sides, and repeat.
Go High: Continue building the walls up about 15-20 layers high.
Attach Hangers: Tie a long piece of twine to each of the four corners, then knot them together at the top for hanging. Fill with birdseed and enjoy the show!
What will you create?
From home decor to helpful gadgets, the possibilities are truly endless. We hope this inspires you to look at that simple craft stick in a whole new way.
Which project will you try first? Share your creations with us in the comments below or tag us on Instagram with #MyPopsicleMasterpiece!


Comments